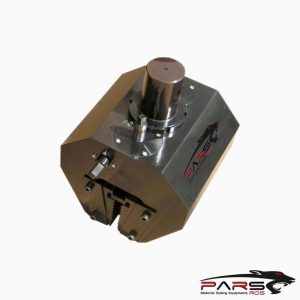
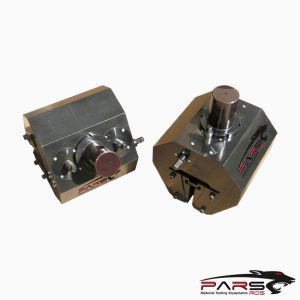
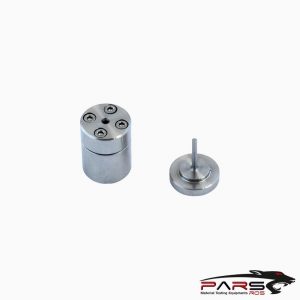
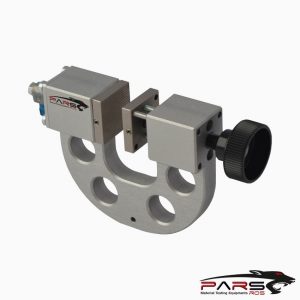
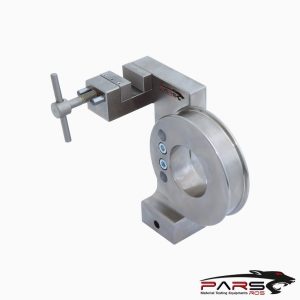
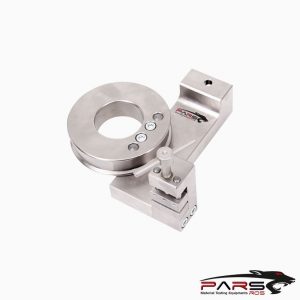
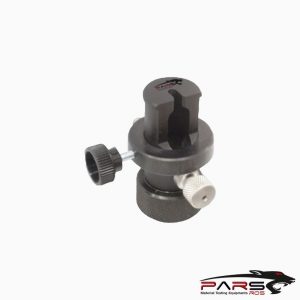
ASTM C1421 Test Fixture
ASTM C1421 covers the fracture toughness, KIc, determination of advanced ceramics at ambient temperature.
Please Contact With Us For More Information
- Description
- Reviews (0)
- TECHNICAL SPECIFICATIONS
Description
Description
ASTM C1421 – Standard Test Methods for Determination of Fracture Toughness of Advanced Ceramics at Ambient Temperature
ASTM C1421 covers the fracture toughness, KIc, determination of advanced ceramics at ambient temperature.
The methods determine KIpb (precracked beam test specimen), KIsc (surface crack in flexure), and KIvb (chevron-notched beam test specimen).
The fracture toughness values are determined using beam test specimens with a sharp crack.
The crack is either a straight-through crack formed via bridge flexure (pb), or a semi-elliptical surface crack formed via Knoop indentation (sc), or it is formed
and propagated in a chevron notch (vb),
These test methods are applicable to materials with either flat or with rising R-curves.
Differences in test procedure and analysis may cause the values from each test method to be different.
For many materials, such as the silicon nitride Standard Reference Material 2100, the three methods give identical results at room temperature in ambient air.
The fracture toughness values for a material can be functions of environment, test rate, and temperature.
These test methods give fracture toughness values for specific conditions of environment, test rate, and temperature.
These test methods are intended primarily for use with advanced ceramics that are macroscopically homogeneous and microstructurally dense.
Certain whisker- or particle-reinforced ceramics may also meet the macroscopic behavior assumptions.
Single crystals may also be tested
ASTM C1421 / Summary of Test Methods
These methods involve application of force to a beam test specimen in three- or four-point flexure.
The test specimen is verysimilar to a common flexural strength test specimen.
The test specimen either contains a sharp crack initially (pb, sc) or develops one during loading (vb).
The equations for calculating the fracture toughness have been established on the basis of elastic stress analyses of the test specimen configurations.
Each method has advantages and disadvantages that are listed in the following three paragraphs.
These factors may be considered when choosing a test method. Nuances and important details for each method are covered in the specific annexes.
Experience with a method increases the chances of obtaining successful outcomes.
Some trial and error may be necessary with a new material or the first time a method is used, so it is wise to prepare extra test specimens.
ASTM C1421 / Precracked Beam Method—A straight-through precrack is created in a beam test specimen via the bridge-flexure technique.
In this technique the precrack is extended from median cracks associated with one or more Vickers or Knoop indentations or a shallow saw notch.
The fracture force of the precracked test specimen as a function of displacement or alternative (for example, time, back-face strain, or actuator displacement)
in three- or four-point flexure is recorded for analysis.
The fracture toughness, KIpb, is calculated from the fracture force, the test specimen size, and the measured precrack size.
Advantages of this method are that it uses a classic fracture configuration and the precracks are large and not too difficult to measure.
A disadvantage is that a special bridge precracking fixture is required to pop in a precrack.
A well designed and well crafted well-designed and well-crafted bridge precracking fixture is needed to obtain good precracks.
Another disadvantage is that large compression forces are needed to pop in the precrack.
Another minor disadvantage is that once precracked, the test specimen must be handled with care since only a small force is necessary to break it.
The precrack size must be measured. This is not difficult for most ceramics, but dye penetration techniques may be needed for some materials
(e.g., (for example, those with coarse grain microstructures) if the precrack does not stand out clearly.
ASTM C1421 / Surface Crack in Flexure Method—A beam test specimen is indented with a Knoop indenter and polished (or hand ground), until
the indent and associated residual stress field are removed.
The fracture force to break the test specimen is determined in four-point flexure and the fracture toughness, KIsc, is calculated from the fracture force,
the test specimen size, and the measured precrack size.
An advantage of this method is that the precracks are very small and may not be much larger than the natural strength limiting strength-limiting flaws
in the material, so the measured fracture toughness is appropriate for the size scale of the natural flaws.
A disadvantage of this method is that fractographic techniques are required to measure the small precracks and some skill and fractographic equipment is
are needed.
Another disadvantage is that this method will not work on very soft or porous ceramics since precracks will not form beneath the indenter that
is used to pop in a precrack.
The method also will not work in materials whose rough microstructure prevents the measurement of the precrack.
ASTM C1421 / Chevron-Notched Beam Method—A chevron-notched beam is loaded in either three- or four-point flexure.
Applied force versus displacement or an alternative (for example, time, back-face strain, or actuator displacement) is recorded in order to detect unstable
fracture, since the test is invalid for unstable conditions.
The fracture toughness, KIvb, is calculated from the maximum force applied to the test specimen after extension of the crack in a stable manner.
The crack forms during the loading sequence.
One major advantage of this method is that it is not necessary to measure the crack size.
On the other hand, it is essential that stable crack extension be obtained during the test.
This may be difficult for some ceramics with large elastic moduli and small fracture toughness values.
The chevron notch must be machined very carefully as described in this method in order to facilitate stable crack extension and also to satisfy the requirements
for a valid test result.
A stiff machine/load train/fixture is often necessary to obtain stable crack extension.
ASTM C1421 / Apparatus
Testing—Use a testing machine that has provisions for autographic recording of force applied to the test specimen versus either test specimen centerline
deflection or time.
ASTM C1421 / Deflection Measurement—Deflection measurements are optional, but if determined, measure test specimen deflection for the pb and vb close to the crack.
The deflection gauge should be capable of resolving 1×101 × 10−3 mm (1 μm) while exerting a contacting force of less than 1 % of the maximum test force, Pmax.
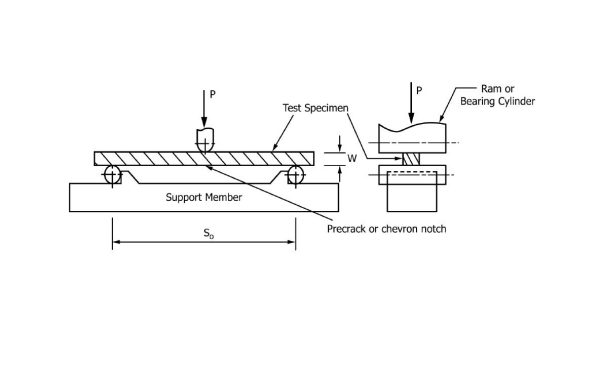
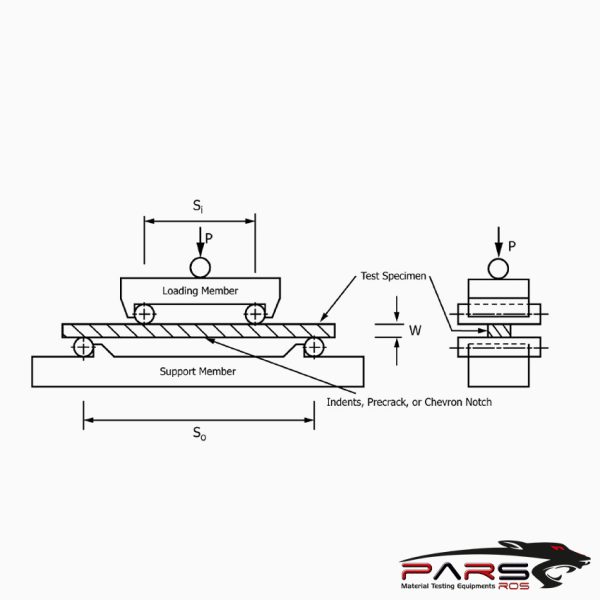
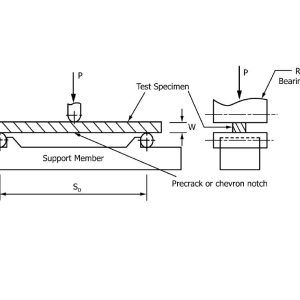
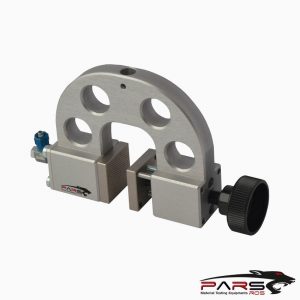
Fixtures—The pb and vb test specimens may be tested in either three-point or four-point fixtures.
Annex A2Annex A2 and Annex A3 and Annex A3 give the recommended span sizes for these two methods, respectively. sc test specimens shall only
be tested in four-point fixtures.
Bend fixtures designed for flexural strength testing in accordance with Test Method ASTM C1161 are suitable, but this test method allows spans and
configurations not in Test Method ASTM C1161.
A bridge precracking fixture is also necessary for the pb method. It is described in Annex
The four-point test fixture for the pb, vb, or sc methods shall conform to the general fixture requirements of Test Method ASTM C1161.
The recommended outer and inner spans are So = 40 mm and Si = 20 mm, respectively, but this standard allows other span sizes provided that the minimum
outer and inner spans shall be So = 20 mm and Si = 10 mm, 10 mm, respectively.
The outer rollers shall be free to roll outwards and the inner rollers shall be free to roll inwards.
Place the rollers initially against their stops and hold them in position by low-tension springs or rubber bands or magnets.
Because of the very low forces used to break precracked test specimens, very low-stiffness rubber bands or springs should be used.
Roller pins shall have a hardness of HRC 40 or greater.
The length of each roller shall be at least three times the test specimen dimension, B. The roller diameter shall be 4.5 6 0.5 mm.
The rollers shall be parallel to each other within 0.015 mm over either the length of the roller or a length of 3B or greater.
If the test specimen parallelism requirements set forth not met, use a fully-articulating fully articulating fixture as described in Test Method ASTM C1161.
The fixture shall be capable of maintaining the test specimen alignment to the tolerances specified in Annex A2 – Annex A4.
A three-point test fixture may be used for the vb and pb methods.
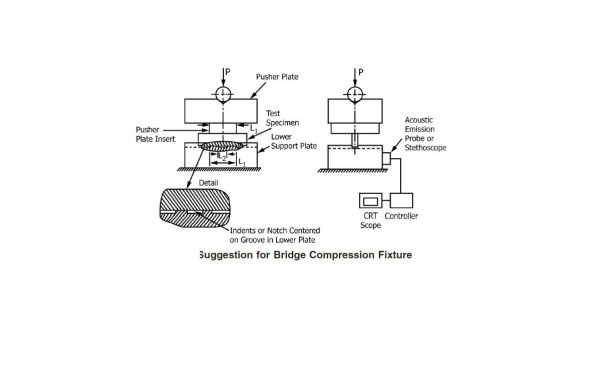
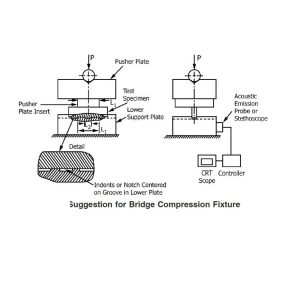
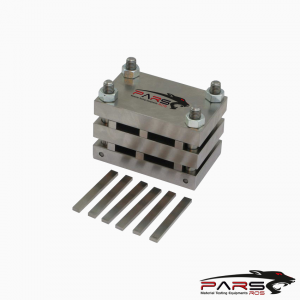
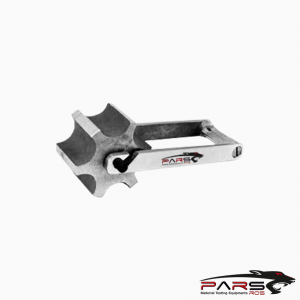
ASTM C1421 / Bridge Precracking Fixture—The configuration used for precracking is different from that used for the actual fracture test.
A bridge compression fixture is used to create a precrack from an indentation crack or from a sawed notch.
The fixture consists of a square support lower plate with a center groove (which is bridged by the test specimen) and a top pusher plate with a bonded pusher
plate insert (for example, silicon nitride).
The lengths of both plates are equal to each other and are less than or equal to 18 mm.
The surfaces that contact the test specimen are of a material with an elastic modulus greater than 300 GPa.
The support plate can have several grooves (L(L2 in Fig. A2.2) ranging from 2 to 6 mm in width.
Alternatively, several parts, each with a different groove width, can be used.
The support and pusher plates shall be parallel within 0.01 mm. Alternatively, a self-aligning fixture can be used.
For four-point flexure, the plane of the crack shall be located within 1.0 mm of the midpoint between the two inner rollers, Si.
Measure the inner and outer spans to within 0.1 mm.
Align the midpoint of the two inner rollers relative to the midpoint of the two outer rollers to within 0.1 mm.
Seat the displacement indicator (if used) close to the crack plane. Alternatively, use actuator (or crosshead) displacement (stroke), back-face strain, or a time sweep.
Referenced Documents
ASTM C1161 Test Method for Flexural Strength of Advanced Ceramics at Ambient Temperature
ASTM C1322 Practice for Fractography and Characterization of Fracture Origins in Advanced Ceramics
ASTM E4 Practices for Force Verification of Testing Machines
ASTM E112 Test Methods for Determining Average Grain Size
ASTM E177 Practice for Use of the Terms Precision and Bias in ASTM Test Methods
ASTM E337 Test Method for Measuring Humidity with a Psychrometer (the Measurement of Wet- and Dry-Bulb Temperatures)
ASTM E691 Practice for Conducting an Interlaboratory Study to Determine the Precision of a Test Method
ASTM E740E740/E740M Practice for Fracture Testing with Surface-Crack Tension Specimens
ASTM E1823 Terminology Relating to Fatigue and Fracture Testing
IEEE/ASTM SI 10 Standard for Use of the International System of Units (SI) (The Modern Metric System)
Reference Material:
NIST SRM 2100 Fracture Toughness of Ceramics
*** Before conducting ASTM C1421 , it is important to read the entire specification. Standards can be obtained from appropriate standard authorities.
***PARSROS offers several types of grips and fixtures which will enable you to perform a variety of tests
that are accurate and repeatable.
Reviews (0)
Be the first to review “ASTM C1421 Test Fixture”
You must be logged in to post a review.
TECHNICAL SPECIFICATIONS
Please Contact with our engineers so that we can find and offer Best Universal Tensile Test Machines , Grips , Jaws and Other Accessories for your operations


Reviews
There are no reviews yet.