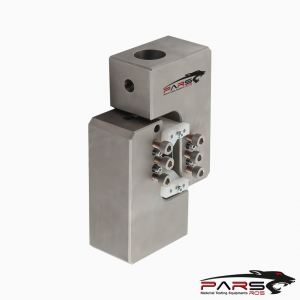
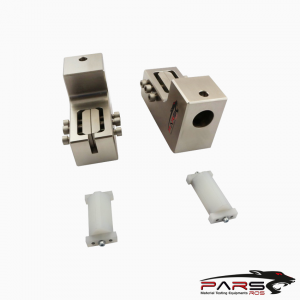
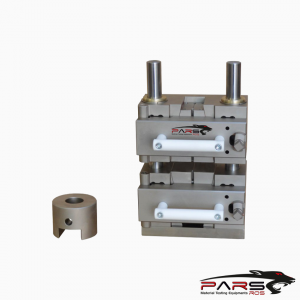
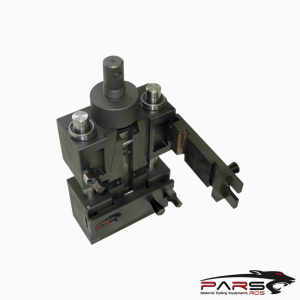
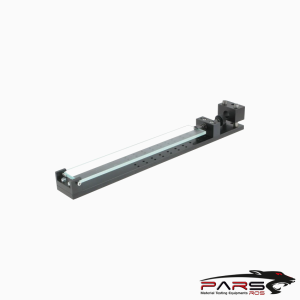
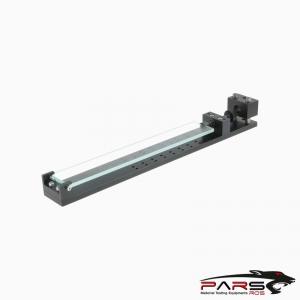
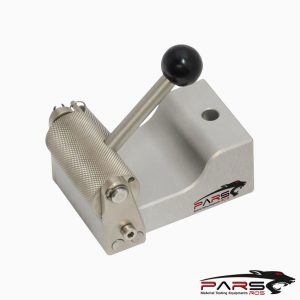
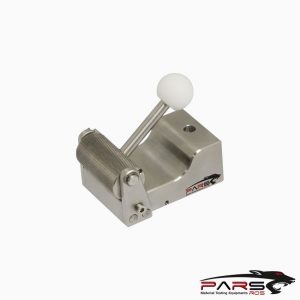
ASTM C749 Test Fikstürü
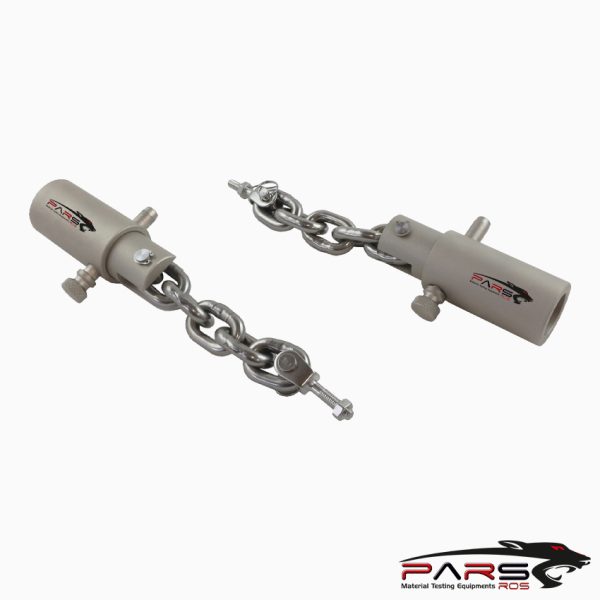
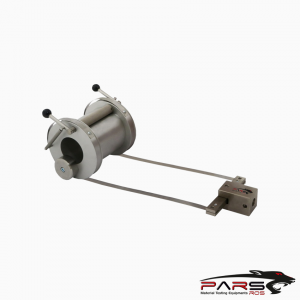
ASTM C749 the testing of carbon and graphite in tension to obtain the tensile stress-strain behavior, to failure
Bilgi Almak İçin Lütfen Bizimle İletişime Geçiniz
- Açıklama
- Değerlendirmeler (0)
- TEKNİK ÖZELLİKLER
Açıklama
Açıklama
ASTM C749- Standard Test Method for
Tensile Stress-Strain of Carbon and Graphite
ASTM C749 the testing of carbon and graphite in tension to obtain the tensile stress-strain behavior, to failure, from which the ultimate strength, the strain to failure,
and the elastic moduli may be calculated as may be required for engineering applications
ASTM C749 / Significance and use
The round robin testing on which the precision and bias for this test method have been determined employed a range of graphites whose grain sizes were of the
order of 1 mil to 1⁄4 in. (0.0254 to 6.4 mm) and larger.
This wide range of carbons and graphites can be tested with uniform gauge diameters with minimum parasitic stresses to provide quality data for use in engineering
applications rather than simply for quality control.
This test method can be easily adapted to elevated temperature testing of carbons and graphites without changing the specimen size or configuration by simply
utilizing elevated temperature materials for the load train.
This test method has been utilized for temperatures as high as 4352°F (2400°C). The specimens for the different graphites have been designed to ensure fracture
within the gauge section commensurate with experienced variability in machining and testing care at different facilities.
The constant gauge diameter permits rigorous analytical treatment Carbon and graphite materials exhibit significant physical property differences within parent
materials.
Exact sampling patterns and grain orientations must be specified in order to make meaningful tensile strength comparisons.
ASTM C749 / APPARATUS
Testing Machine
The testing machine shall have a load measurement capacity such that the breaking load of the test specimen falls between 10 and 90 % of the scale or load cell
capacity.
This range must be linear to within 1 % over 1 % increments either by design or by calibration.
Strain Measurements
The axial strain can be measured at room temperatureby the use of strain gauges, mechanical extensometers, Tuckerman gauges, optical systems, or other devices
applied diametrically opposite in the gauge length portion of the specimen.
Two opposing gauges provide some compensation for bending and some assurance that it was not severe.
Different graphites require different attachment procedures and extreme care is necessary.
When attaching strain gauges, the modification of the surface may result in a glue-graphite composite at the skin and thus the resulting strain values may be
erroneous and typically low.
When using clip-on extensometers, the knife edges can initiate fracture. Record, but do not include the fractures at the attachments in the averages.
If more than 20 % of the failures occur at the attachment location, change the strain monitoring system or attachment device.
The circumferential strain can be measured at room temperature by use of strain gauges applied circumferentially.
Knowledge of the anisotropy in the billet and orientation of the specimen is necessary in order to properly place the strainmeasuring device.
Generally, one can expect three values of Poisson’s ratio for a nonisotropic material. Hence, the strain sensing devices must be sized and positioned carefully.
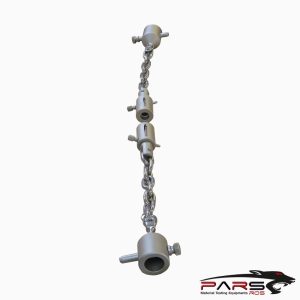
Gripping Devices
The centerlines of all connections must align to within the tolerances
Calibration
Calibrate the micrometres that are to beused for measurement of diameters by measuring the dimensions of blocks provided by the NBS that are accurate within
60.0001 in. (0.00254 mm).
Calibrate all instrumentation and establish shunt calibration for each recorded and each parameter. Zero all recorders.
Specimen
Adapt to the specimen the appropriate straininstrumentation by bonding strain gauges to its surface, adapting, or any other strain measuring system so that strain can be
measured during the test. Place the specimen within the load train. Make sure all instrumentation is properly calibrated and zeroed.
Loading
Apply the load at a predetermined constantstress rate by following the appropriate load time curve either manually or automatically.
Continuously apply the load until fracture is induced.
*** Before conducting ASTM C749 , it is important to read the entire specification. Standards can be obtained from appropriate standard authorities.
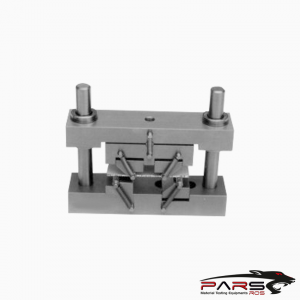
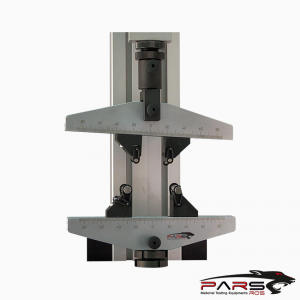
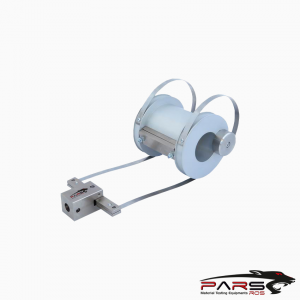
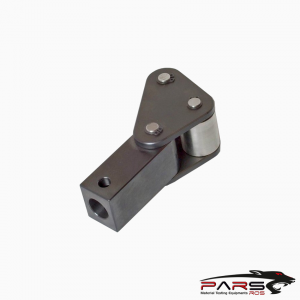
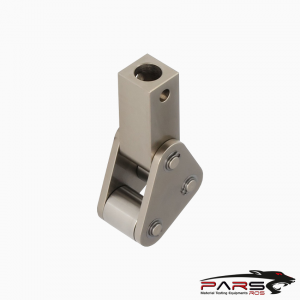
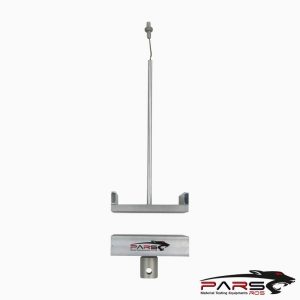
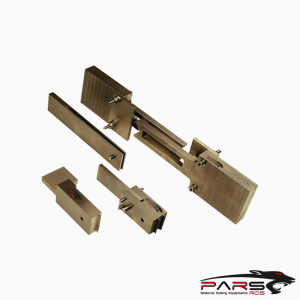
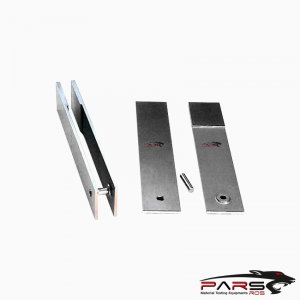
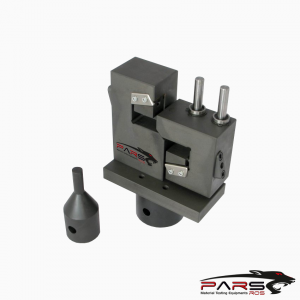
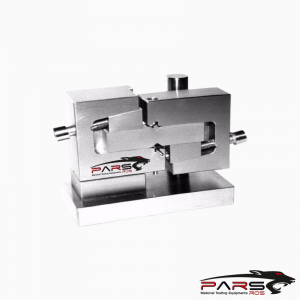
***PARSROS offers several types of grips and fixtures which will enable you to perform a variety of tests
that are accurate and repeatable.
Değerlendirmeler (0)
“ASTM C749 Test Fikstürü” için yorum yapan ilk kişi siz olun
Değerlendirme yazabilmek için oturum açmalısınız.



Değerlendirmeler
Henüz değerlendirme yapılmadı.