ASTM D2290 Test Fikstürü
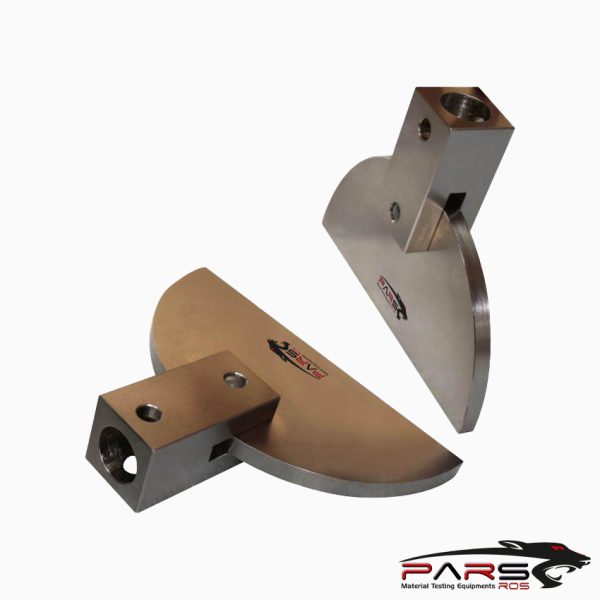
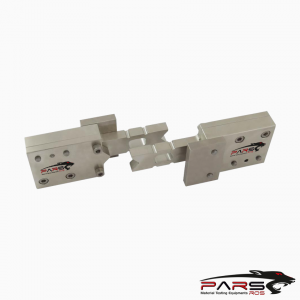
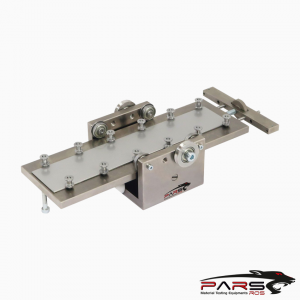
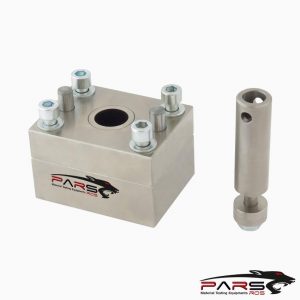
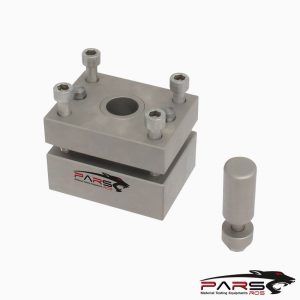
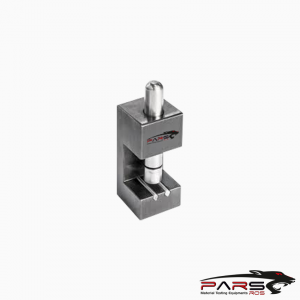
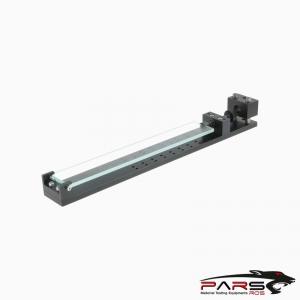
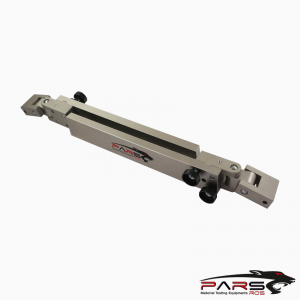
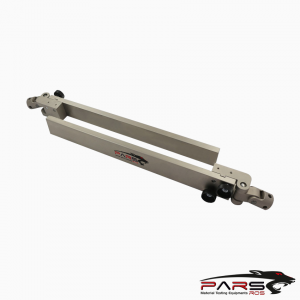
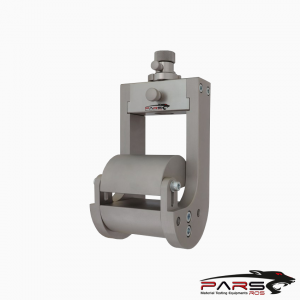
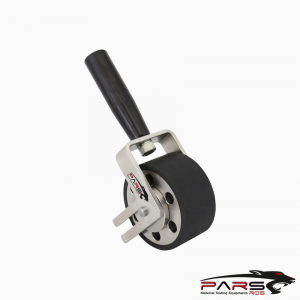
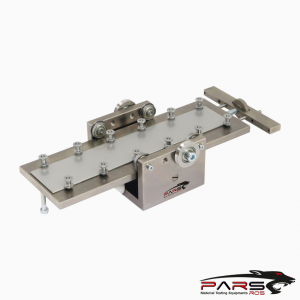
ASTM D2290 covers the determination of the comparative apparent tensile strength of most plastic products utilizing a split disk or ring segment test fixture
Bilgi Almak İçin Lütfen Bizimle İletişime Geçiniz
- Açıklama
- Değerlendirmeler (0)
- TEKNİK ÖZELLİKLER
Açıklama
ASTM D2290-Standard Test Method for Apparent Hoop Tensile Strength of Plastic or Reinforced Plastic Pipe
ASTM D2290 covers the determination of the comparative apparent tensile strength of most plastic products utilizing a split disk or ring segment test fixture,
when tested under defined conditions of pretreatment, temperature, humidity, and test machine speed.
This test method is applicable to reinforced-thermosetting resin pipe regardless of fabrication method.
This test method also is applicable to extruded and molded thermoplastic pipe.
Procedure A is used for reinforced-thermosetting resin pipe;
Procedure B is used for thermoplastic pipe of any size;
Procedure C is used for thermoplastic pipe with nominal diameter of 41⁄2 in. (110 mm) and greater.
Procedure D is used for polyethylene pipe with a nominal diameter of 14 in. (350 mm) and greater and preferably having wall thickness 1 in. (25 mm) and greater.
Procedure E is used for polyvinyl chloride (PVC) pipe with a nominal diameter of 14 in. (350 mm) and greater and having wall thickness 1 in. (25 mm) and greater.
ASTM D2290 / Summary of Test Method
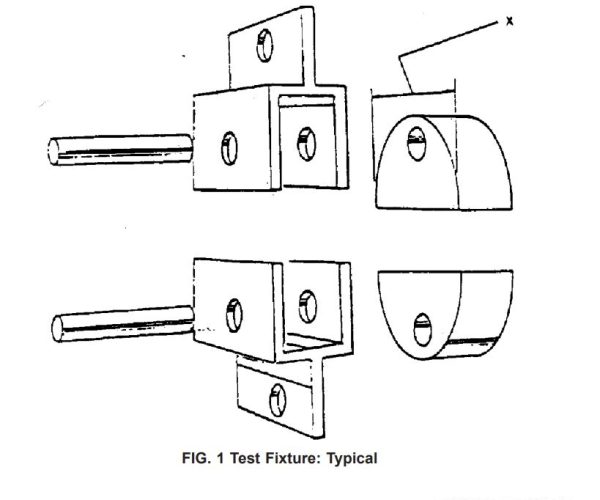
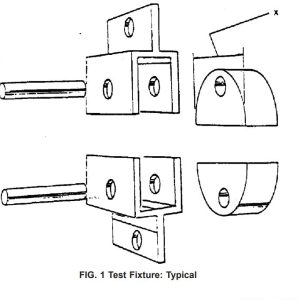
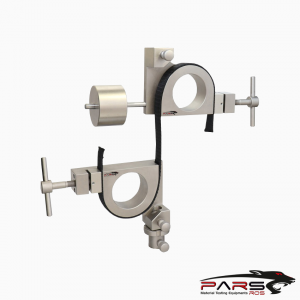
For Procedures A, B, and C, the test specimen is loaded through the suggested self-aligning split disk test fixture (Fig. 1) which applies tensile stress to the
test ring.
An apparent tensile strength rather than a true tensile strength is obtained in this test because of a bending moment imposed during test at the split between
the split disk test fixture.
This moment is induced by the change in contour of the ring between the two disk sections as they separate.
The test fixture is designed to minimize the effect of this bending moment.
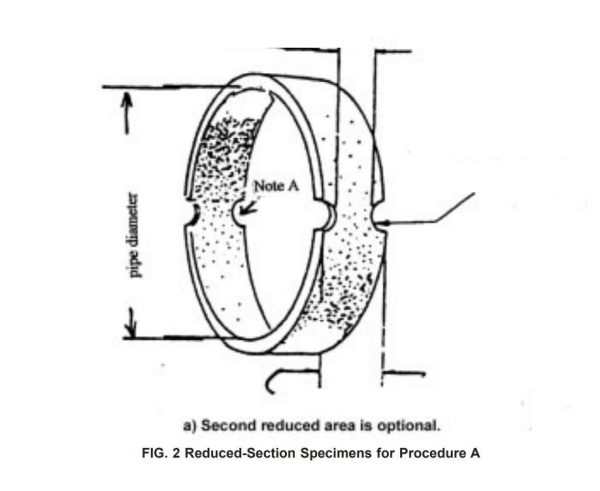
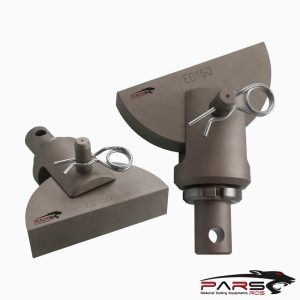
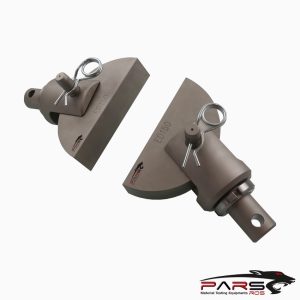
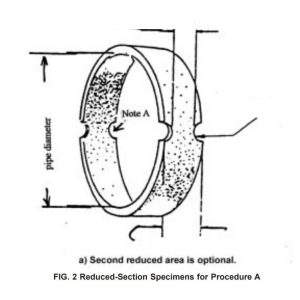
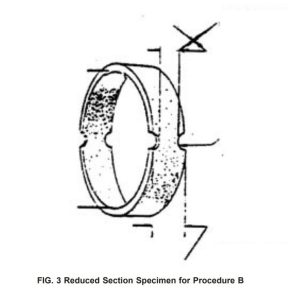
For Procedure D, ring segment test specimen pairs are loaded into the suggested self-aligning test fixtures (Fig. 2) that are designed to apply direct tensile stress
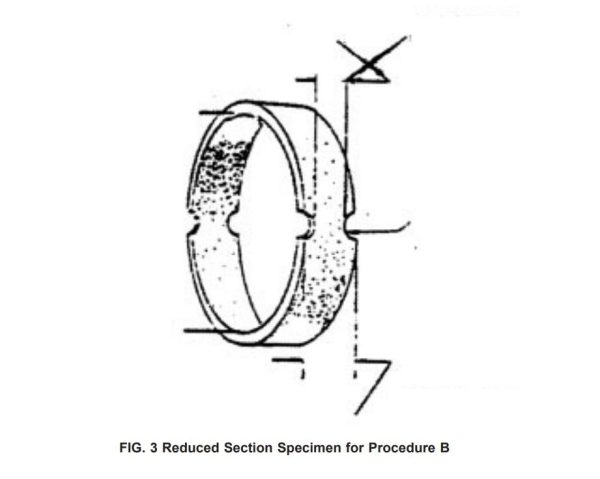
to the reduced areas of the ring segment test specimens (Fig. 3) with minimal bending moment.
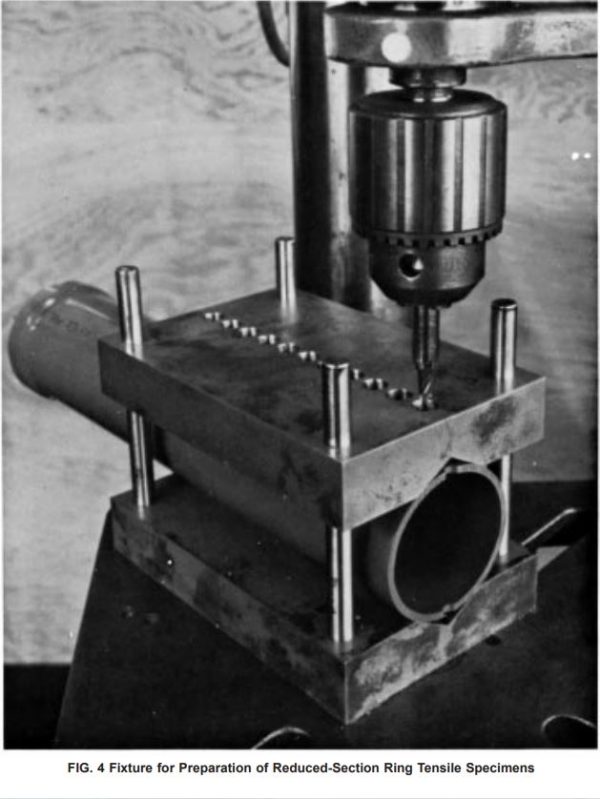
For Procedure E, a single ring segment test specimen is loaded into the suggested self-aligning test fixture (Fig. 4) that is designed to apply direct tensile
stress to the reduced areas of the ring segment test specimen (Fig. 5) with minimal bending moment.
ASTM D2290 / Apparatus
Testing Machine—Auniversal testing machine of the constant-rate-of-cross-head-movement type and comprising essentially the following:
Drive Mechanism—A drive mechanism for imparting to the crosshead a uniform controlled velocity with respect to the base
Load Indicator—A load-indicating mechanism capable of showing the total tensile load carried by the test specimen.
This mechanism shall be essentially free from inertia lag at the specified rate of testing and shall indicate the load with an accuracy of 61 % of the indicated value.
The accuracy of the testing machine shall be verified in accordance with Method E4.
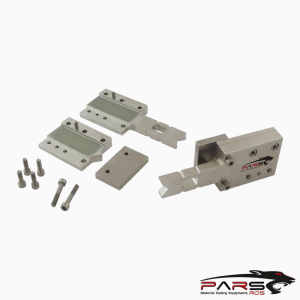
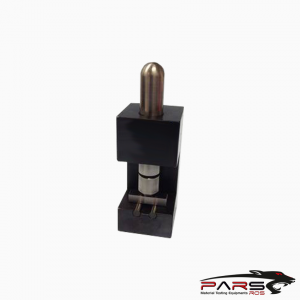
ASTM D2290 / / Procedure A, B, and C Test Fixture—The recommended test fixture Procedures A, B, and C is shown in Fig. 1.
The width of the split disk for Procedure A and Procedure B shall be at least 0.1 in. greater than the width of the specimen.
The width of the split disk for Procedure C shall be 2.0 in. 6 0.1 in.
The supports for holding the tension test fixture shall be self-aligning, that is, they shall be attached to the fixed and movable member of the test machine,
respectively, in such a manner that they move freely into alignment as soon as any load is applied, so that the direction of the applied pull is directly perpendicular
to the split axis of the test fixture.
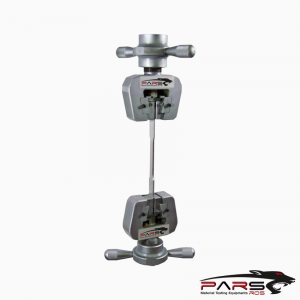
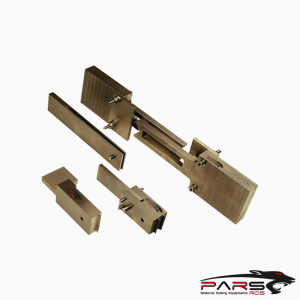
ASTM D2290 / Procedure D Test Fixture—A tension test fixture for Procedure D is illustrated in Fig. 2.
The supports for holding the tension test fixture shall be self-aligning, that is, they shall be attached to the fixed and movable member of the test machine,
respectively, in such a manner that they move freely into alignment as soon as any load is applied, so that the direction of the applied pull is directly perpendicular
to the split axis of the test fixture.
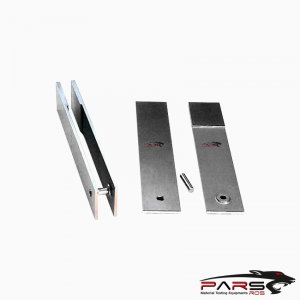
ASTM D2290 / Procedure E Test Fixture—A test fixture for Procedure E is illustrated in Fig. 4.
The Test fixture shall be self-aligning, that is, it shall be attached to the fixed and movable member of the test machine, respectively, in such a manner that it moves
freely into alignment as soon as any load is applied, so that the direction of the applied pull is directly perpendicular to the split axis of the test fixture.
*** Before conducting ASTM D2290 , it is important to read the entire specification. Standards can be obtained from appropriate standard authorities.
***PARSROS offers several types of grips and fixtures which will enable you to perform a variety of tests
that are accurate and repeatable.





Bir yanıt yazın
Yorum yapabilmek için oturum açmalısınız.