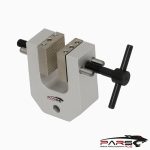
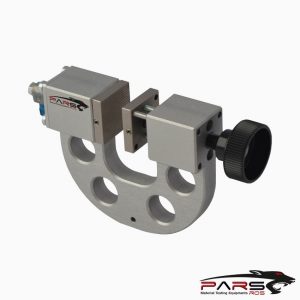
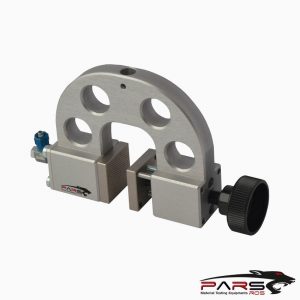
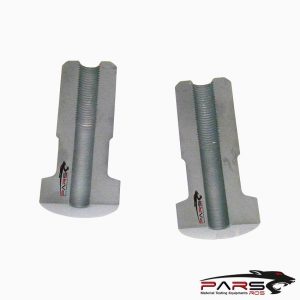
ASTM D6484 Test Fixture
ASTM D6484 determines the open-hole compressive strength of multidirectional polymer matrix composite laminates reinforced by high-modulus fibers.
Please Contact With Us For More Information
- Description
- Reviews (0)
- TECHNICAL SPECIFICATIONS
Description
Description
ASTM D6484 – Standard Test Method for Open-Hole Compressive Strength of Polymer Matrix Composite Laminates
ASTM D6484 determines the open-hole compressive strength of multidirectional polymer matrix composite laminates reinforced by high-modulus fibers.
The composite material forms are limited to continuous-fiber or discontinuous-fiber (tape or fabric, or both) reinforced composites in which the laminate is balanced
and symmetric with respect to the test direction.
ASTM D6484 / Significance and Use
This test method is designed to produce notched compressive strength data for structural design allowables, material specifications, research and development,
and quality assurance.
Factors that influence the notched compressive strength and shall therefore be reported include the following:
Material, methods of material fabrication, accuracy of lay-up, laminate stacking sequence and overall thickness, specimen geometry, (including hole diameter,
diameter-to-thickness ratio, and width-to-diameter ratio), specimen preparation (especially of the hole), specimen conditioning, environment of testing, specimen
alignment and gripping, loading procedure, speed of testing, time at temperature, void content, and volume percent reinforcement.
Properties that may be derived from this test method include open-hole (notched) compressive strength (OHC).
ASTM D6484 / Apparatus
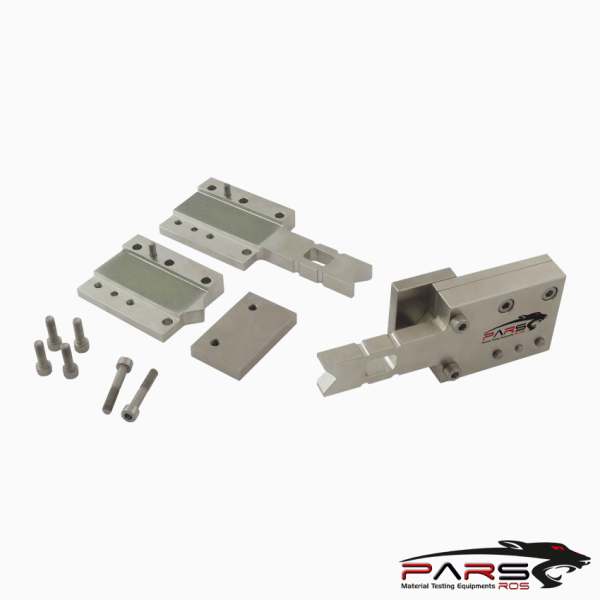
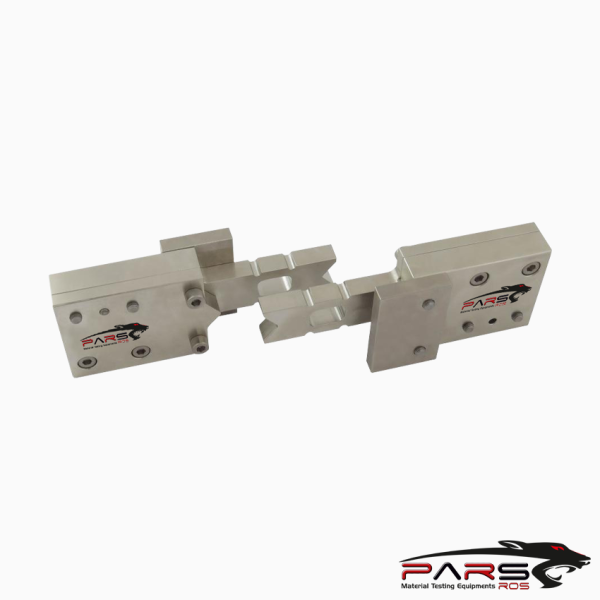
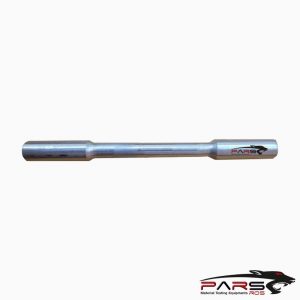
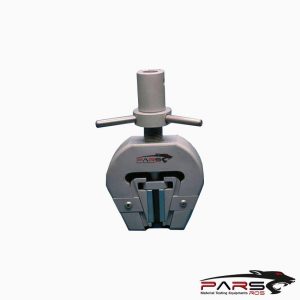
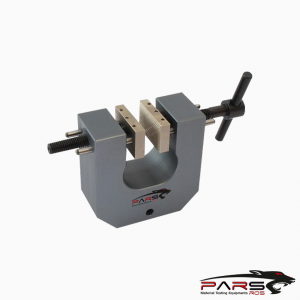
ASTM D6484 /Support Fixture—The fixture is a face-supported compressive test fixture.
The fixture consists of two short-grip/long-grip assemblies, two support plates, and steel shims as required to maintain a nominally zero (0.00- to 0.12-mm
[0.000- to 0.005-in.] tolerance) gap between support plates and long grips.
If this gap does not meet the minimum requirement, shim the contact area between the support plate and the short grip with steel shim stock.
If the gap is too large, shim between the support plate and the long grip, holding the shim stock on the support plate with tape.
The fixture should be checked for conformity to engineering drawings. Each short-grip/long-grip assembly is line-drilled and must be used as a matched set.
The threading of the support plate is optional. Standard test specimens are 36 by 300 mm [1.5 by 12 in.].
In Procedure A, the fixture is hydraulically gripped on each end and the compressive force is transmitted by means of friction through the fixture and into the
test specimen.
In Procedure B, the fixture is placed between flat platens and loaded in compression at each end; force introduced into the fixture is transmitted by means of
friction into the test specimen.
A cutout exists on both faces of the fixture for a thermocouple, fastener, or extensometer, if required by the requesting organization.
The long and short fixtures have an undercut along the corner of the specimen grip area so that specimens are not required to be chamfered and to avoid damage
caused by the radius.
The fixtures also allow a slight clearance between the fixture and the gage section of the specimen, in order to minimize grip failures and friction effects.
ASTM D6484 / Support Fixture Details—The detailed drawings for manufacturing the support fixture
An optional threaded support plate to be used instead of the support plate
Other fixtures that meet the requirements of this section may be used
The following general notes apply to these figures:
Machine surfaces to a 3.2 [125] finish Break all edges.
Specimen-gripping area shall be thermal sprayed using high-velocity oxygen fueled (HVOF), electrospark deposition (ESD), or equivalent process.
The test fixture may be made of low-carbon steel for ambient temperature testing.
For non-ambient environmental conditions, the recommended fixture material is a nonheattreated ferritic or precipitation-hardened stainless steel
(heat treatment for improved durability is acceptable but not required).
Additional fasteners may be installed in the gripping area when using Procedure B.
The presence of such fasteners is not required to perform an end-loaded test successfully.
However, they can be beneficial in suppressing unacceptable failure modes (such as end failures) in certain circumstances (high temperature testing, for example)
by ensuring that the specimen is well-supported by the fixture
ASTM D6484 / Testing Machine—The testing machine shall be in accordance with Practices ASTM E4 and shall satisfy the following requirements:
Testing Machine Configuration—The testing machine shall have both an essentially stationary head and a movable head.
A short loading train, and either rigidly mounted hydraulic grips or flat end-loading platens, shall be used.
ASTM D6484 / Grips—If Procedure A is used, each head of the testing machine shall be capable of holding one end of the test assembly so that the direction of force
applied to the specimen is coincident with the longitudinal axis of the specimen.
Hydraulic wedge grips shall apply sufficient lateral pressure to prevent slippage between the grip face and the support fixture.
ASTM D6484 / Flat Platens—If Procedure B is used, the test machine shall be mounted with well-aligned, fixed (as opposed to spherical seat) flat platens.
The platen surfaces shall be parallel within 0.03 mm [0.001 in.] across the test fixture base length of 80 mm [3.0 in]. If the platens are not sufficiently hardened, or
simply to protect the platen surfaces, a hardened plate (with parallel surfaces) can be inserted between each end of the fixture and the corresponding platen.
A rectangle should be drawn on the center of the lower platen, to help center the test fixture between the platens.
ASTM D6484 / Drive Mechanism—The testing machine drive mechanism shall be capable of imparting to the movable head a controlled velocity with respect to
the stationary head.
ASTM D6484 / Extensometers—The extensometer gage length shall be 25 mm [1.0 in.]. Extensometers shall satisfy, at a minimum, Practice ASTM E83,
Class B-1 requirements for the strain range of interest, and shall be calibrated over that range in accordance with Practice E83.
The extensometers shall be essentially free of inertia lag at the specified speed of testing.
*** Before conducting ASTM D6484 , it is important to read the entire specification. Standards can be obtained from appropriate standard authorities.
***PARSROS offers several types of grips and fixtures which will enable you to perform a variety of tests
that are accurate and repeatable.
Reviews (0)
Be the first to review “ASTM D6484 Test Fixture”
You must be logged in to post a review.
TECHNICAL SPECIFICATIONS
Please Contact with our engineers so that we can find and offer Best Universal Tensile Test Machines , Grips , Jaws and Other Accessories for your operations



Reviews
There are no reviews yet.