ASTM E1820 Test Fikstürü
ASTM E1820 covers procedures and guidelines for the determination of fracture toughness of metallic materials using the following parameters
Bilgi Almak İçin Lütfen Bizimle İletişime Geçiniz
- Açıklama
- Değerlendirmeler (0)
- TEKNİK ÖZELLİKLER
Açıklama
Açıklama
ASTM E1820- Standard Test Method for Measurement of Fracture Toughness
ASTM E1820 covers procedures and guidelines for the determination of fracture toughness of metallic materials using the following parameters:
K, J, and CTOD (δ).
Toughness can be measured in the R-curve format or as a point value.
The fracture toughness determined in accordance with this test method is for the opening mode (Mode I) of loading.
ASTM E1820 / NOTE 1—Until this version, KIc could be evaluated using this test method as well as by using Test Method ASTM E399.
To avoid duplication, the evaluation of KIc has been removed from this test method and the user is referred to Test Method ASTM E399.
The recommended specimens are single-edge bend, [SE(B)], compact, [C(T)], and disk-shaped compact, [DC(T)].
All specimens contain notches that are sharpened with fatigue cracks.
Specimen dimensional (size) requirements vary according to the fracture toughness analysis applied.
The guidelines are established through consideration of material toughness, material flow strength, and the individual qualification requirements of the toughness
value per values sought.
ASTM E1820 / NOTE 2—Other standard methods for the determination of fracture toughness using the parameters K, J, and CTOD are contained in
Test Methods ASTM E399, ASTM E1290, and ASTM E1921.
This test method was developed to provide a common method for determining all applicable toughness parameters from a single test
ASTM E1820 / Apparatus
Apparatus is required for measurement of applied force, load-line displacement, and crack-mouth opening displacement.
Force versus load-line displacement and force versus crack-mouth opening displacement may be recorded digitally for processing by computer or autographically
with an x-y plotter.
ASTM E1820 / Fixtures
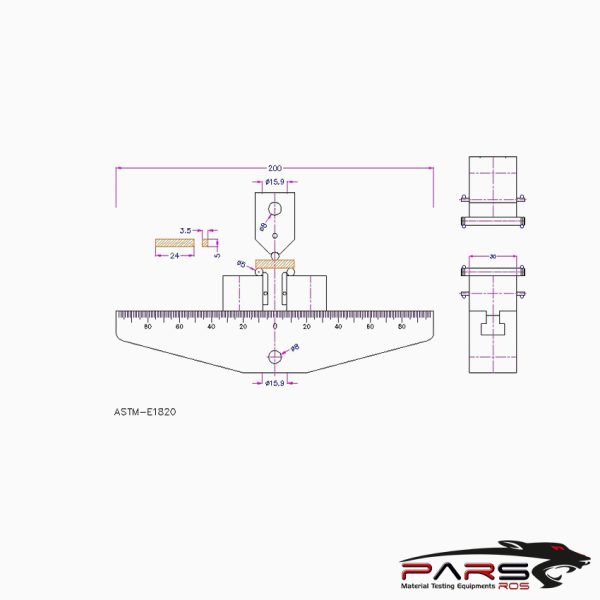
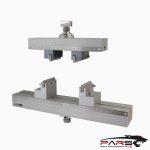
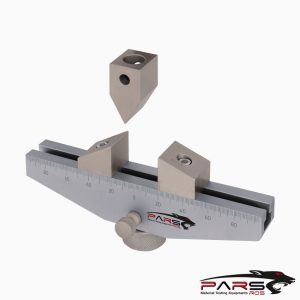
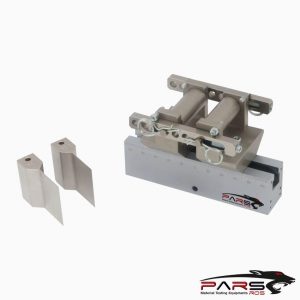
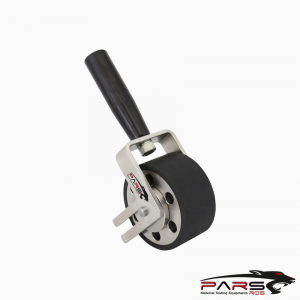
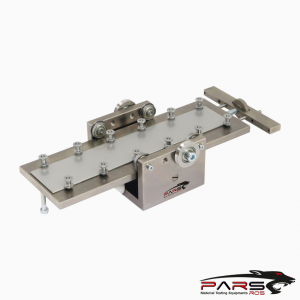
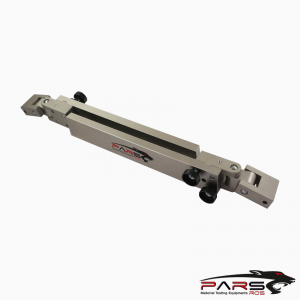
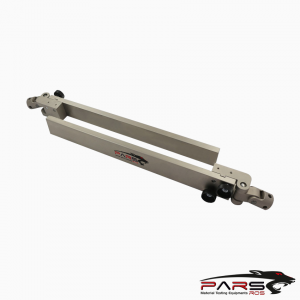
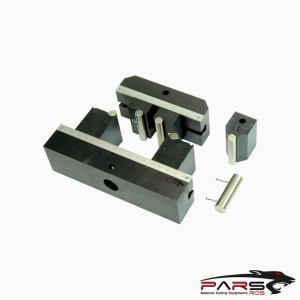
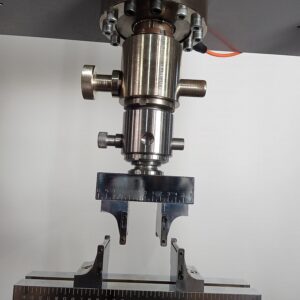
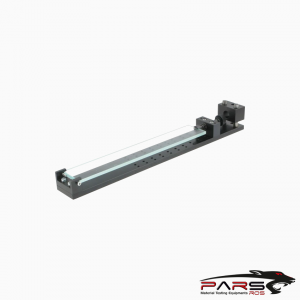
ASTM E1820 / Bend-Test Fixture
This fixture is designed to minimize frictional effects by allowing the support rollers to rotate and move apart slightly as the specimen is loaded, thus permitting
rolling contact.
Thus, the support rollers are allowed limited motion along plane surfaces parallel to the notched side of the specimen, but are initially positively positioned against
stops that set the span length and are held in place by low-tension springs (such as rubber bands).
Fixtures and rolls shall be made of high hardness (greater than 40 HRC) steels.
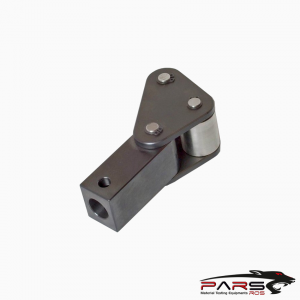
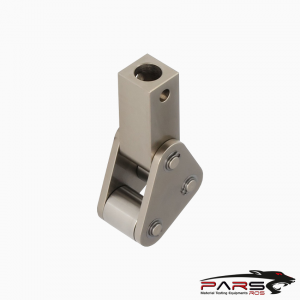
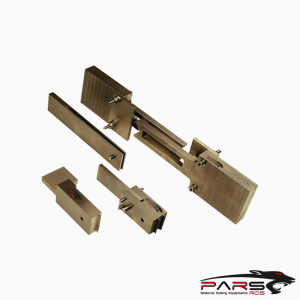
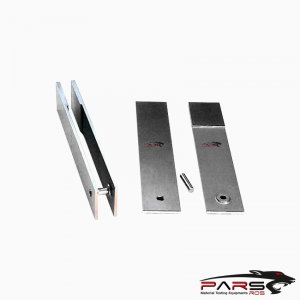
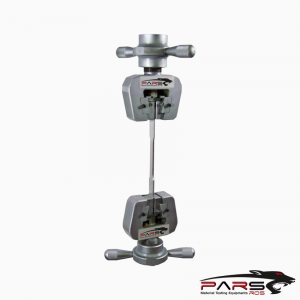
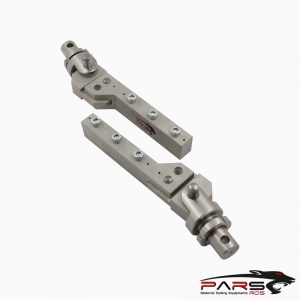
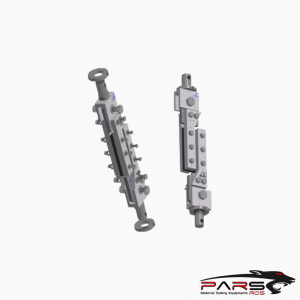
ASTM E1820 / Tension Testing Clevis
A loading clevis suitable for testing compact specimens / Both ends of the specimen are held in such a clevis and loaded through pins, in order to allow rotation
of the specimen during testing.
In order to provide rolling contact between the loading pins and the clevis holes, these holes are provided with small flats on the loading surfaces.
Clevises and pins should be fabricated from steels of sufficient strength (greater than 40 HRC) to elastically resist indentation of the clevises or pins.
ASTM E1820 / Summary of Test Method
The objective of this test method is to load a fatigue precracked test specimen to induce either or both of the following responses
(1) Unstable crack extension, including significant pop-in, referred to as “fracture instability” in this test method;
(2) Stable crack extension, referred to as “stable tearing” in this test method.
Fracture instability results in a single point-value of fracture toughness determined at the point of instability.
Stable tearing results in a continuous fracture toughness versus crack-extension relationship (R-curve) from which significant point-values may be determined.
Stable tearing interrupted by fracture instability results in an R-curve up to the point of instability.
This test method requires continuous measurement of force versus load-line displacement or crack mouth opening displacement, or both. If any stable tearing
response occurs, then an R-curve is developed and the amount of slow-stable crack extension shall be measured.
Two alternative procedures for measuring crack extension are presented, the basic procedure and the resistance curve procedure.
The basic procedure involves physical marking of the crack advance and multiple specimens used to develop a plot from which a single point initiation toughness
value can be evaluated.
The resistance curve procedure is an elastic-compliance method where multiple points are determined from a single specimen.
In the latter case, high precision of signal resolution is required. These data can also be used to develop an R-curve.
Other procedures for measuring crack extension are allowed.
The commonality of instrumentation and recommended testing procedure contained herein permits the application of data to more than one method of evaluating
fracture toughness.
Annex A4 and Annex A6 – Annex A11 define the various data treatment options that are available, and these should be reviewed to optimize data transferability.
Data that are generated following the procedures and guidelines contained in this test method are labeled qualified data.
Data that meet the size criteria in Annex A4 and Annex A6 – Annex A11 are insensitive to in-plane dimensions.
The formulas presented in this test method are applicable over the range of crack size and specimen sizes within the scope of this test method.
*** Before conducting ASTM E1820 , it is important to read the entire specification. Standards can be obtained from appropriate standard authorities.
***PARSROS offers several types of grips and fixtures which will enable you to perform a variety of tests
that are accurate and repeatable.
Değerlendirmeler (0)
“ASTM E1820 Test Fikstürü” için yorum yapan ilk kişi siz olun Yanıtı iptal et
Değerlendirme yazabilmek için oturum açmalısınız.


Değerlendirmeler
Henüz değerlendirme yapılmadı.