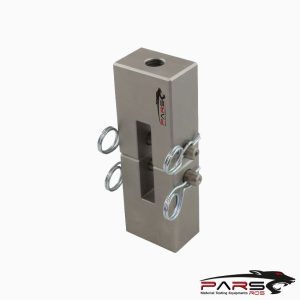
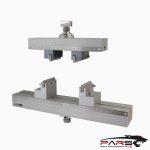
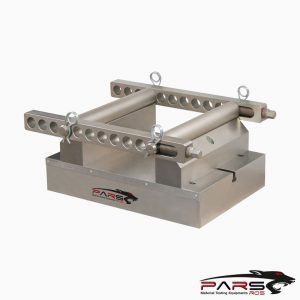
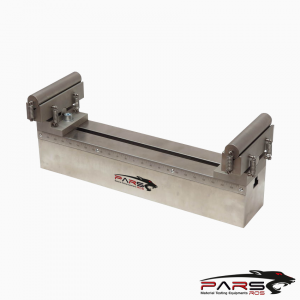
ASTM E647 Test Fixture
ASTM E647 covers the determination of fatigue crack growth rates from near-threshold to Kmax controlled instability.
Please Contact With Us For More Information
- Description
- Reviews (0)
- TECHNICAL SPECIFICATIONS
Description
Description
ASTM E647- Standard Test Method for Measurement of Fatigue Crack Growth Rates
ASTM E647 covers the determination of fatigue crack growth rates from near-threshold to Kmax controlled instability.
Results are expressed in terms of the crack-tip stress-intensity factor range (ΔK), defined by the theory of linear elasticity.
Several different test procedures are provided, the optimum test procedure being primarily dependent on the magnitüde of the fatigue crack growth rate to be
measured.
Materials that can be tested by this test method are not limited by thickness or by strength so long as specimens are of sufficient thickness to preclude buckling and
of sufficient planar size to remain predominantly elastic during testing.
A range of specimen sizes with proportional planar dimensions is provided, but size is variable to be adjusted for yield strength and applied force.
Specimen thickness may be varied independent of planar size.
Specimen configurations other than those contained in this method may be used provided that well-established stress-intensity factor calibrations are available
and that specimens are of sufficient planar size to remain predominantly elastic during testing.
Residual stress/crack closure may significantly influence the fatigue crack growth rate data, particularly at low stressintensity factors and low stress ratios, although
such variables are not incorporated into the computation of ΔK.
ASTM E647 / Apparatus
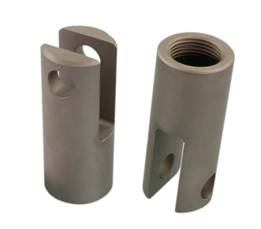
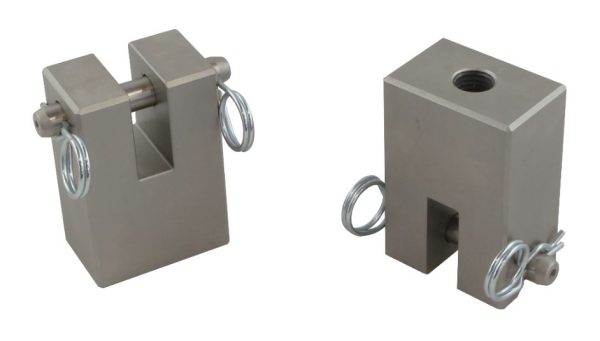
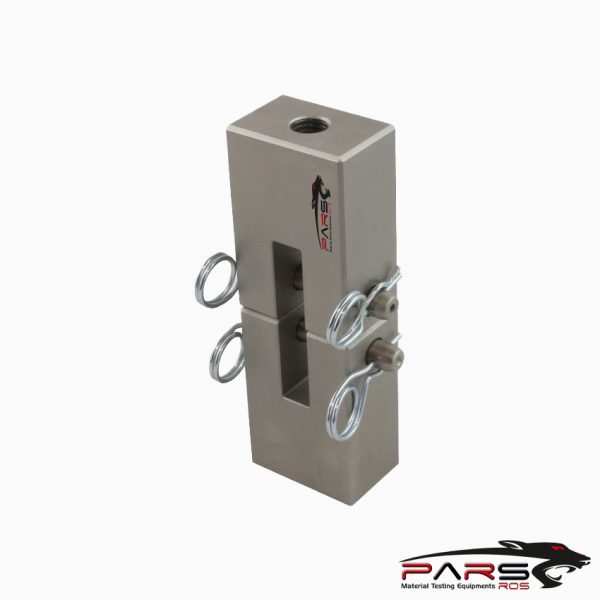
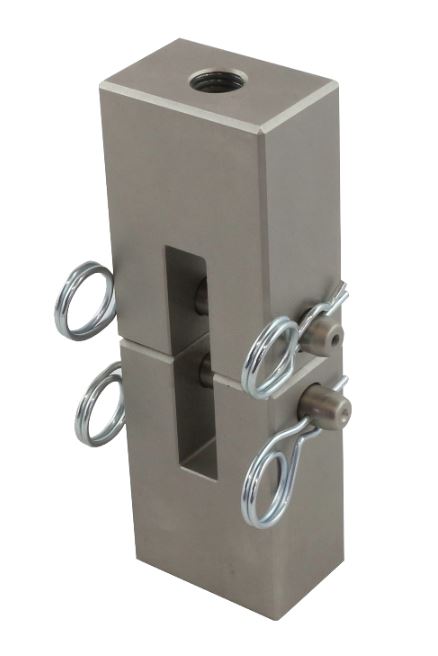
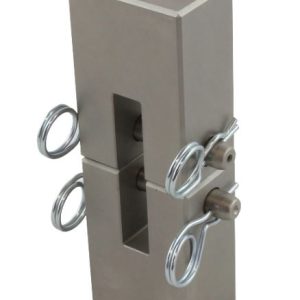
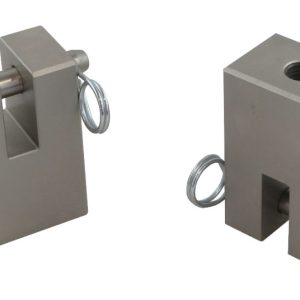
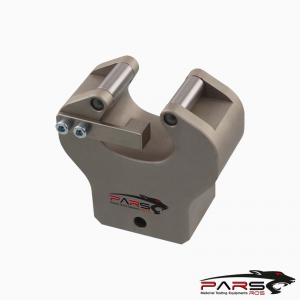
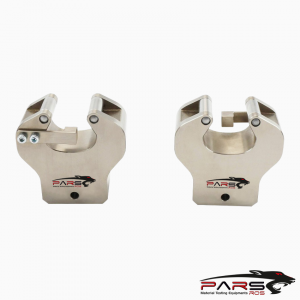
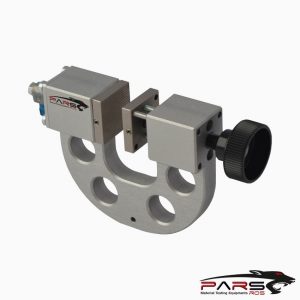
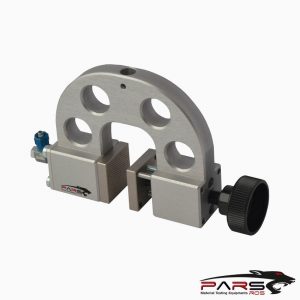
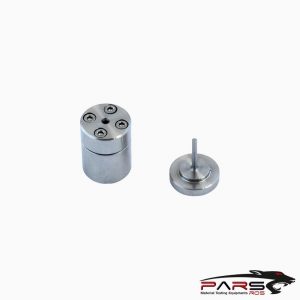
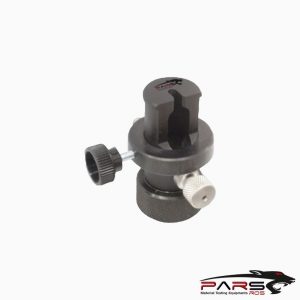
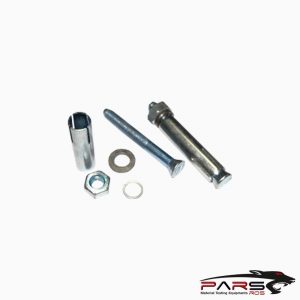
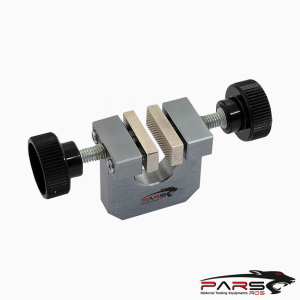
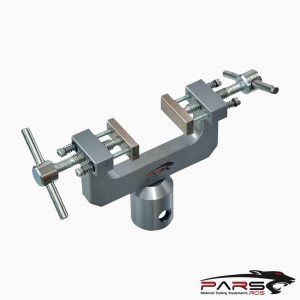
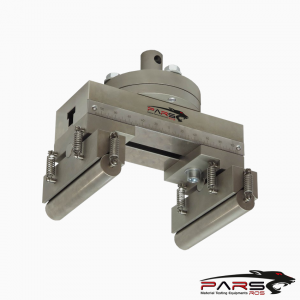
ASTM E647 / Grips and Fixtures—Grips and fixturing required for the specimens outlined in this method are described in the appropriate specimen annex.
Alignment of Grips—It is important that attention be given to achieving good alignment in the force train through careful machining of all gripping fixtures.
Misalignment can cause non-symmetric cracking, particularly for critical applications such as near-threshold testing, which in turn may lead to invalid data
If non-symmetric cracking occurs, the use of a strain-gaged specimen to identify and minimize misalignment might prove useful.
For tension-compression loading the length of the force train (including the hydraulic actuator) should be minimized, and rigid, non-rotating joints should be
employed to reduce lateral motion in the force train.
ASTM E647 / Summary of Test Method
This test method involves cyclic loading of notched specimens which have been acceptably precracked in fatigue.
Crack size is measured, either visually or by an equivalent method, as a function of elapsed fatigue cycles and these data are subjected to numerical analysis to
establish the rate of crack growth.
Crack growth rates are expressed as a function of the stress-intensity factor range, ΔK, which is calculated from expressions based on linear elastic stress analysis.
*** Before conducting ASTM E647 , it is important to read the entire specification. Standards can be obtained from appropriate standard authorities.
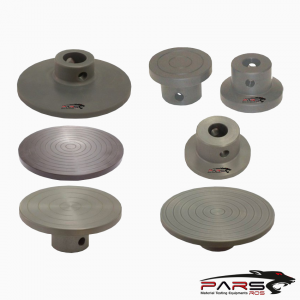
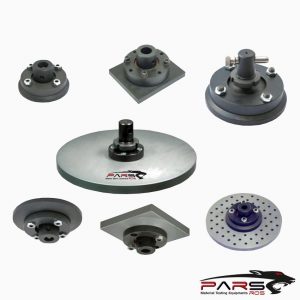
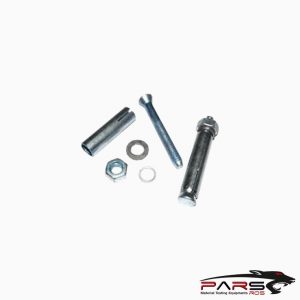
***PARSROS offers several types of grips and fixtures which will enable you to perform a variety of tests
that are accurate and repeatable.
Reviews (0)
Be the first to review “ASTM E647 Test Fixture”
You must be logged in to post a review.
TECHNICAL SPECIFICATIONS
Please Contact with our engineers so that we can find and offer Best Universal Tensile Test Machines , Grips , Jaws and Other Accessories for your operations


Reviews
There are no reviews yet.