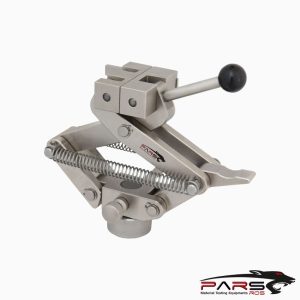
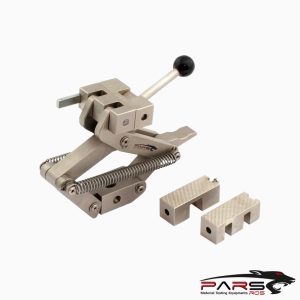
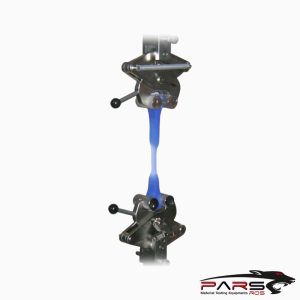
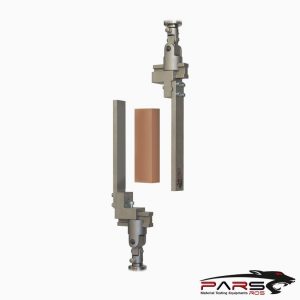
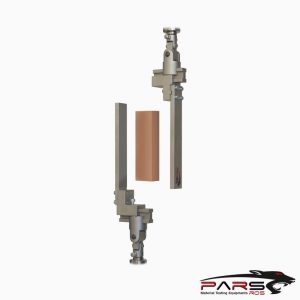
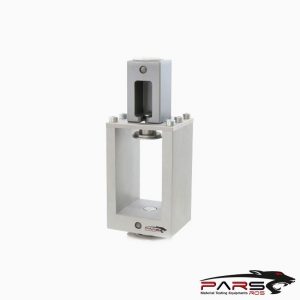
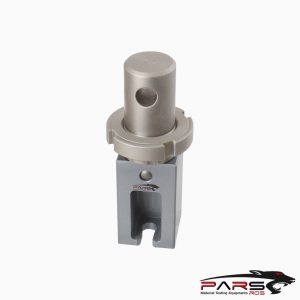
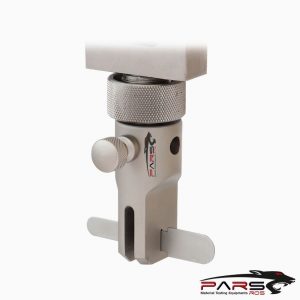
EN 1465 Test Fixture
EN 1465 specifies a method for determining the tensile lap-shear strength of bonded assemblies when tested on a standard specimen and under specified
conditions of preparation and testing.
Please Contact With Us For More Information
- Description
- TECHNICAL SPECIFICATIONS
Description
Description
EN 1465 – Adhesives – Determination of Tensile Lap-Shear Strength of Bonded Assemblies
EN 1465 specifies a method for determining the tensile lap-shear strength of bonded assemblies when tested on a standard specimen and under specified
conditions of preparation and testing.
NOTE 1 This test procedure is not applicable for calculations needed for bond design in structural joints.
NOTE 2 This test Test methods for the determination of tensile lap-shear strength of bonded assemblies with wood adhesives are also specified in EN 205 and
EN 302-1
Principle
Adhesive lap-shear bond strength is determined by stressing in shear of a single overlap joint between rigid adherends by applying to the adherends a tensile force
which is parallel to the bond area and to the major axis of the specimen.
The reported result is the observed force or stress at rupture.
Apparatus
Testing Machine
It shall comply with a test machine, class 1 and the response time of the machine shall be short enough not to affect the accuracy with which the force applied at
the time of rupture can be measured.
NOTE
The recorded force shall not differ from the true applied force by more than 1%.
The machine shall be capable of applying a tensile force that increases at a steady rate.
Where equipment does not allow for constant rate of load application, a rate of jaw separation shall be used which approximates the rate of loading .
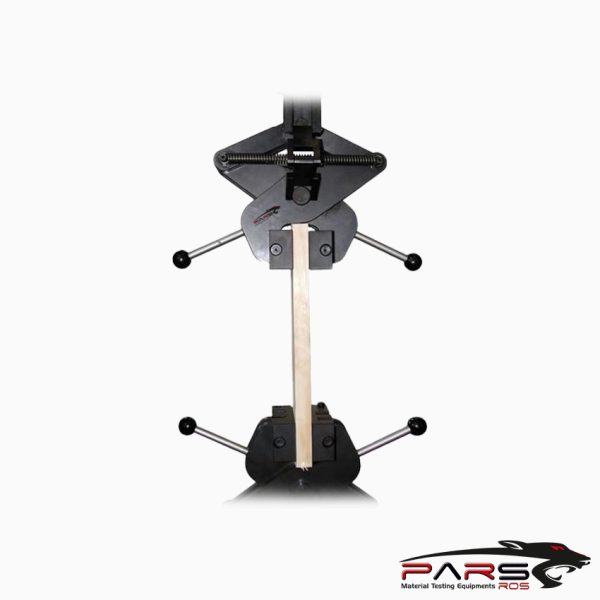
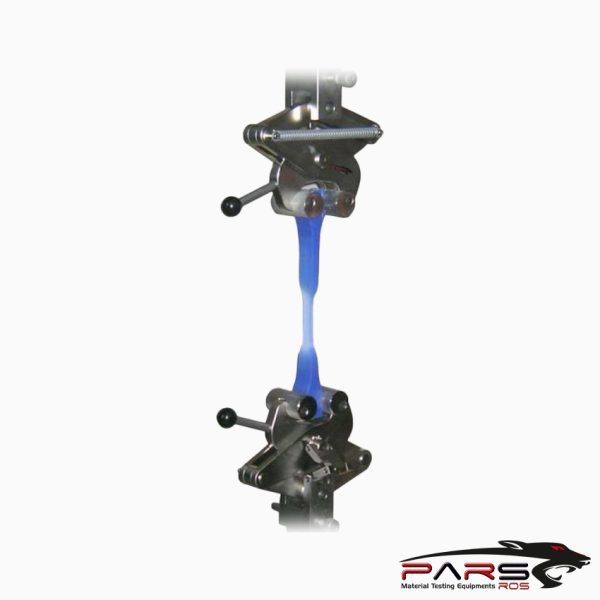
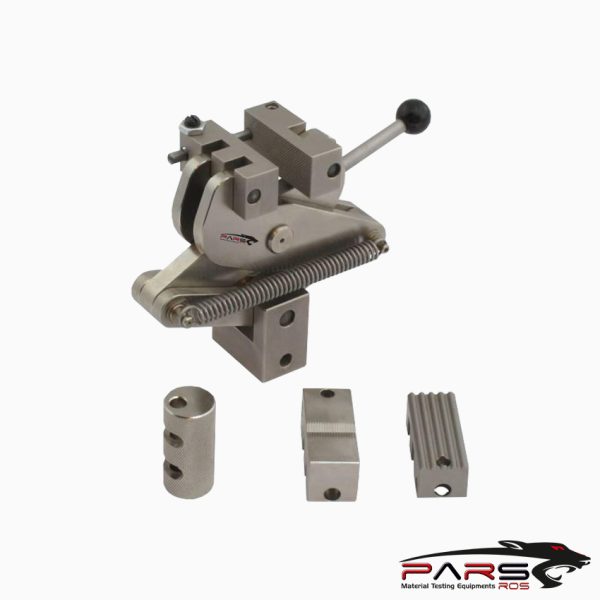
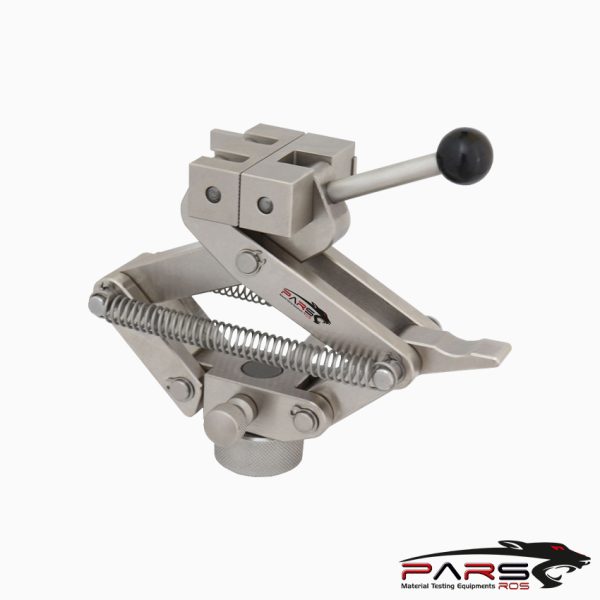
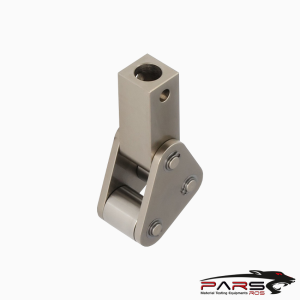
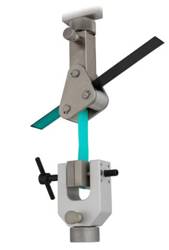
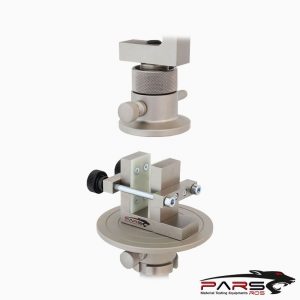
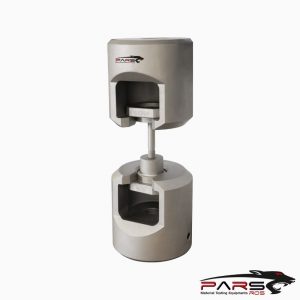
It shall be provided with a suitable pair of self-aligning grips to hold the specimen.
The grips and attachments shall be so constructed that they will move into alignment with the test specimen as soon as the load is applied, so that the long
axis of the test specimen will coincide with the direction of the applied force through the centre line of the grip assembly to avoid bending moment.
Grips that operate by bolting through the adherends shall be avoided since such grips give rise to undesirable stress concentration.
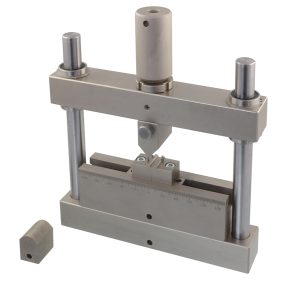
Jig
For accurately locating adherends during bonding.
Test Procedure
Locate the test specimen symmetrically in the grips, with each grip (50 ± 1) mm from the nearest edge of the overlap.
A shim may be used in the grips so that the applied force will be in the plane of the adhesive bond.
Operate the machine so that the stress or strain on the test joint increases at a constant (i.e. steady) rate.
This rate shall be such that the average joint will be broken in a period of (65 ± 20) s.
Record the highest force during rupture as the breaking force of that specimen.
Results from test specimens that rupture in the adherend shall be discarded except for routine testing and noted in the test report.
*** Before conducting EN 1465 , it is important to read the entire specification. Standards can be obtained from appropriate standard authorities.
***PARSROS offers several types of grips and fixtures which will enable you to perform a variety of tests
that are accurate and repeatable.
TECHNICAL SPECIFICATIONS
Please Contact with our engineers so that we can find and offer Best Universal Tensile Test Machines , Grips , Jaws and Other Accessories for your operations


