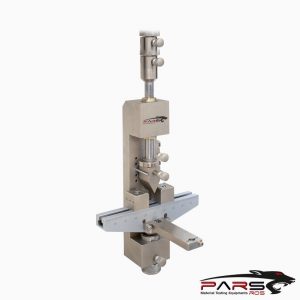
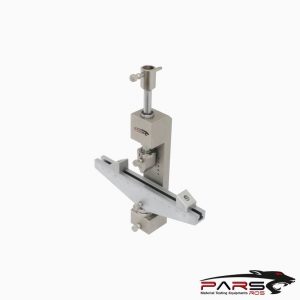
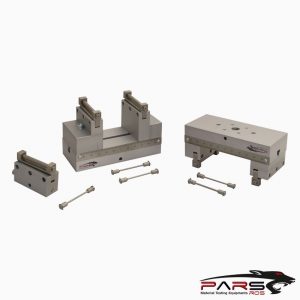
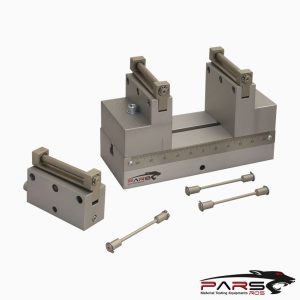
ISO 3303-1 Test Fixture
ISO 3303-1 specifies a method for the determination of the bursting strength of rubber or plastics coated fabrics, using a mechanically operated steel ball.
Please Contact With Us For More Information
- Description
- TECHNICAL SPECIFICATIONS
Description
ISO 3303-1 – Rubber- or Plastics-Coated Fabrics — Determination of Bursting Strength
Part 1: Steel-Ball Method
ISO 3303-1 specifies a method for the determination of the bursting strength of rubber or plastics coated fabrics, using a mechanically operated steel ball.
Principle
A test piece is securely clamped between rigid coaxial apertures.
A polished steel ball traversing at a fixed speed is pressed against the test piece until failure occurs.
The force required to cause failure and the displacement of the polished steel ball at failure are recorded
Apparatus and Reagents
Testing machine, power driven, equipped with an electronic force measurement system and an electronic crosshead displacement monitor.
The drive system shall be capable of maintaining constant the speed of the moving head to ±10 % of the set value.
The force measurement system shall be capable of measuring the relevant forces occurring during the test within class 2 of ISO 7500-1:2018.
The crosshead displacement monitor shall be capable of measuring the relevant displacements under load to within ±1,0 mm.
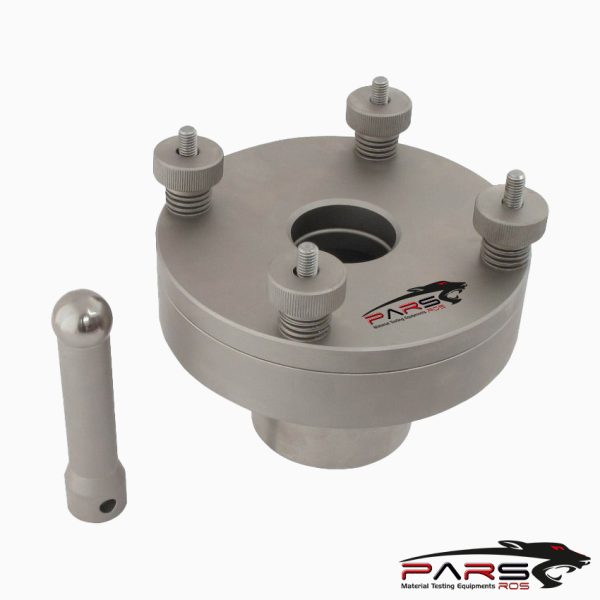
ISO 3303-1 Bursting Attachment
Such that the test piece is held securely by a ring mechanism of internal diameter 45 mm ± 0,5 mm, with the centre of the test piece pressed against a polished
steel ball of diameter 25,2 mm ± 0,02 mm until the test piece ruptures.
The direction of motion of the ringclamp or steel ball shall be at right angles to the plane of the fabric.
The clamping surfaces of the upper and lower clamps shall be grooved concentrically such that the crowns of the grooves of one plate fit the grooves of the other.
The grooves shall be not less than 0,8 mm apart and not less than 0,15 mm deep.
The grooves shall start no further than 3 mm from the edge of the aperture and shall be rounded to a radius of not greater than 0,4 mm.
The lower inner edge of the upper clamp and the upper inner edge of the lower clamp shall be rounded off to a radius of 0,5 mm.
An alternative ball size of 38 mm ± 0,02 mm may be used, but the results might not be comparable
*** Before conducting ISO 3303-1 , it is important to read the entire specification. Standards can be obtained from appropriate standard authorities.
***PARSROS offers several types of grips and fixtures which will enable you to perform a variety of tests
that are accurate and repeatable.
Please Contact with our engineers so that we can find and offer Best Universal Tensile Test Machines , Grips , Jaws and Other Accessories for your operations


